Formando Líderes para el desarrollo de Bolivia


 La única universidad con:
-
 Enseñanza
-
Enseñanza en Línea
-
Empleabilidad
-

-


 Pregrado
¡Tu camino al éxito profesional comienza aquí!
Descubre nuestra oferta académica de Pregrado: una propuesta en constante evolución para adaptarse a los cambios del mundo laboral y tecnológico. ¡Prepárate para el futuro con una formación de vanguardia!
Conoce nuestras Facultades:
Pregrado
¡Tu camino al éxito profesional comienza aquí!
Descubre nuestra oferta académica de Pregrado: una propuesta en constante evolución para adaptarse a los cambios del mundo laboral y tecnológico. ¡Prepárate para el futuro con una formación de vanguardia!
Conoce nuestras Facultades:
-


 Postgrado
¡Prepárate con visión internacional!
Explora nuestra oferta académica de Postgrado UPB. Te brindamos la mejor oportunidad para especializarte y mantenerte a la vanguardia en un mundo laboral y tecnológico en constante transformación.
Conoce nuestras Escuelas:
Postgrado
¡Prepárate con visión internacional!
Explora nuestra oferta académica de Postgrado UPB. Te brindamos la mejor oportunidad para especializarte y mantenerte a la vanguardia en un mundo laboral y tecnológico en constante transformación.
Conoce nuestras Escuelas:
-


 Formación continua
¡Amplía tus habilidades y competencias con nosotros!
La formación continua es muy valiosa para aquellos profesionales que desean ampliar y actualizar sus conocimientos en un campo específico. Por eso, en la UPB te brindamos la posibilidad de adquirir nuevas habilidades y competencias que te permitirán destacar en tu área de trabajo.
Conoce nuestras modalidades:
Formación continua
¡Amplía tus habilidades y competencias con nosotros!
La formación continua es muy valiosa para aquellos profesionales que desean ampliar y actualizar sus conocimientos en un campo específico. Por eso, en la UPB te brindamos la posibilidad de adquirir nuevas habilidades y competencias que te permitirán destacar en tu área de trabajo.
Conoce nuestras modalidades:

Nuestros Campus
Descubre un mundo de aprendizaje en nuestro campus. ¡Te esperamos!


Nuestros estudiantes comparten sus experiencias
Descubre la experiencia única de nuestros estudiantes a través de sus testimonios.
 Galilea Canedo
Me encanta la carrera de Relaciones y Negocios Internacionales porque combina áreas que me interesan mucho. Al graduarme, obtendré menciones en cuatro áreas: Derecho, Economía, Relaciones y Negocios Internacionales. Me enfocaré en el ámbito empresarial, que es lo que más me atrae.
Galilea Canedo
Me encanta la carrera de Relaciones y Negocios Internacionales porque combina áreas que me interesan mucho. Al graduarme, obtendré menciones en cuatro áreas: Derecho, Economía, Relaciones y Negocios Internacionales. Me enfocaré en el ámbito empresarial, que es lo que más me atrae.
 Noelia Jenny Andia Mendoza
Ingeniería Financiera es una carrera muy desafiante, lo cual implica un grado de dedicación y responsabilidad muy elevado para poder sobre salir como estudiante. Desde mi experiencia es súper competitiva, además de dinámica. Me siento muy contento con mi carrera.
Noelia Jenny Andia Mendoza
Ingeniería Financiera es una carrera muy desafiante, lo cual implica un grado de dedicación y responsabilidad muy elevado para poder sobre salir como estudiante. Desde mi experiencia es súper competitiva, además de dinámica. Me siento muy contento con mi carrera.
 Adrián Jaldín
Me considero una persona que siempre está en constante movimiento y que busca nuevos retos. La carrera me está ayudando a desarrollar mejor mis habilidades para desempeñarme en el futuro como un excelente profesional.
Adrián Jaldín
Me considero una persona que siempre está en constante movimiento y que busca nuevos retos. La carrera me está ayudando a desarrollar mejor mis habilidades para desempeñarme en el futuro como un excelente profesional.
La Universidad Privada #1 de Bolivia
#7 MEJOR ESCUELA DE NEGOCIOS EN AMÉRICA LATINA
#1 reputación de empleadores de Bolivia
#1 proporción docente/estudiante
Últimas noticias
-
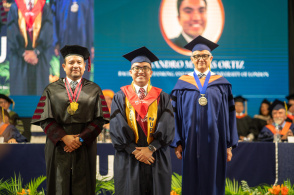
 La UPB inaugura un programa innovador, pionero en Bolivia
-
 kjjkhgkuy
-
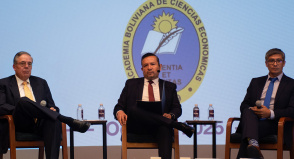 La ABCE y la UPB impulsan un diálogo académico y constructivo sobre las propuestas económicas para Bolivia
-
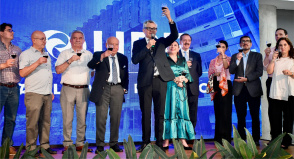 UPB inaugura nuevo edificio en Santa Cruz y abre oficinas de Aceleratec
-
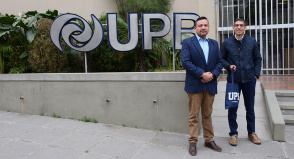 UPB Fortalece Vínculos Académicos Internacionales con la Visita del Decano de Columbia University
-
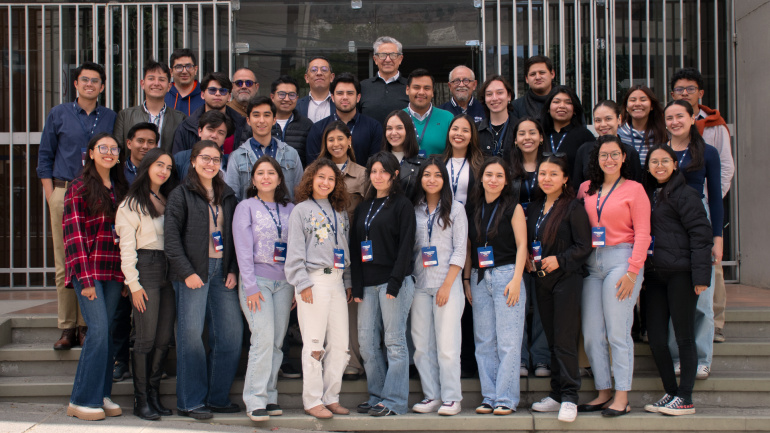
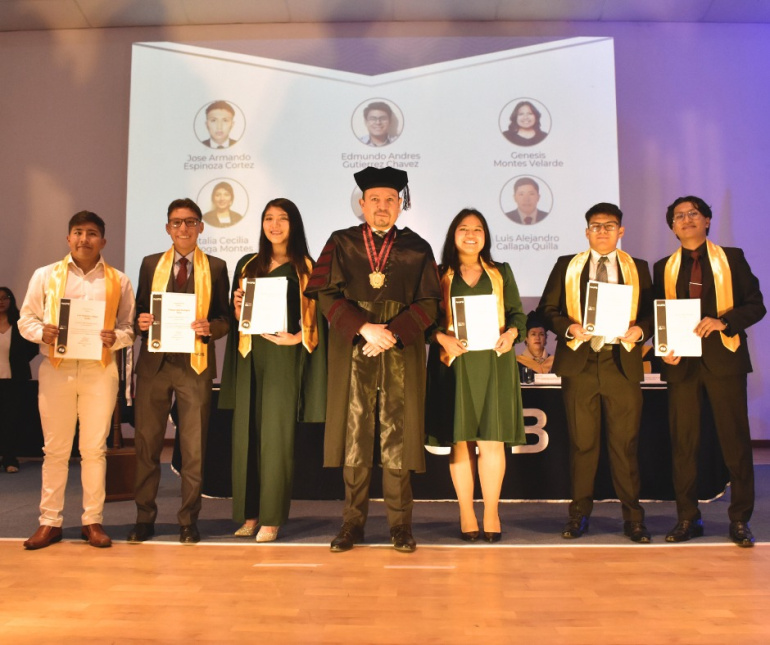 98 Líderes del Futuro: UPB La Paz Rinde Homenaje al Talento y la Excelencia Académica con Visión Global
Conoce nuestras unidades de investigación
Las Unidades de Investigación son unidades operativas dependientes del Vicerrectorado de Investigación, encargadas de desarrollar las Áreas Estratégicas de investigación de la UPB, que son áreas relevantes genéricas del conocimiento, priorizadas por la visión y políticas institucionales, que enlazan la pertinencia institucional y social con el análisis del contexto y que imprimen a la Universidad una identidad académica en el campo de la investigación.
Más información
Campus Julio León Prado - JLP
Cochabamba
Av. Cap. Víctor Ustáriz Km. 6.5
Teléfono: +591 (4)4178100 - +591 (4)4268287
Admisiones Pregrado
Av. Cap. Víctor Ustáriz Km. 6.5
Teléfono: +591 78362269
Admisiones Postgrado
Av. Cap. Víctor Ustáriz Km. 6.5
Teléfono: +591 71411110
Admisiones Formación Contínua
Av. Cap. Víctor Ustáriz Km. 6.5
Teléfono: +591 60370200
Campus Fernando Illanes de la Riva - FIR
La Paz
Camino Achocalla Km. 3.5
Teléfono: +591 (2) 2165700
Admisiones Pregrado
Camino Achocalla Km. 3.5
Teléfono: +591 77201229
Admisiones Postgrado
Av. Hernando Siles # 5080 esq. calle 5, Obrajes
Teléfono: +591 (2) 2170000
Admisiones Formación Contínua
Av. Hernando Siles # 5080 esq. calle 5, Obrajes
Teléfono: +591 60370200
Campus Santa Cruz
Prolongación Av. Piraí entre 6to y 7mo anillo
Teléfono: +591 (3) 50850020
Admisiones Pregrado
Prolongación Av. Piraí entre 6to y 7mo anillo
Teléfono: +591 72139181
Admisiones Postgrado
Prolongación Av. Piraí entre 6to y 7mo anillo
Teléfono: +591 77671127
Admisiones Formación Contínua
Prolongación Av. Piraí entre 6to y 7mo anillo
Teléfono: +591 60370200